GPS Setup
GPS Setup
The portable magnetic trackers (TM-17 V4) are set to update every 2 minutes while moving with additional updates upon a significant heading change (set to 35 degrees). The tracker goes into deep sleep after being still for 5 minutes and will wake up with movement. It takes 20-30 seconds for the tracker to send its location after the sensor detects it is moving.
This mode provides the best overall battery longevity without sacrificing location accuracy.
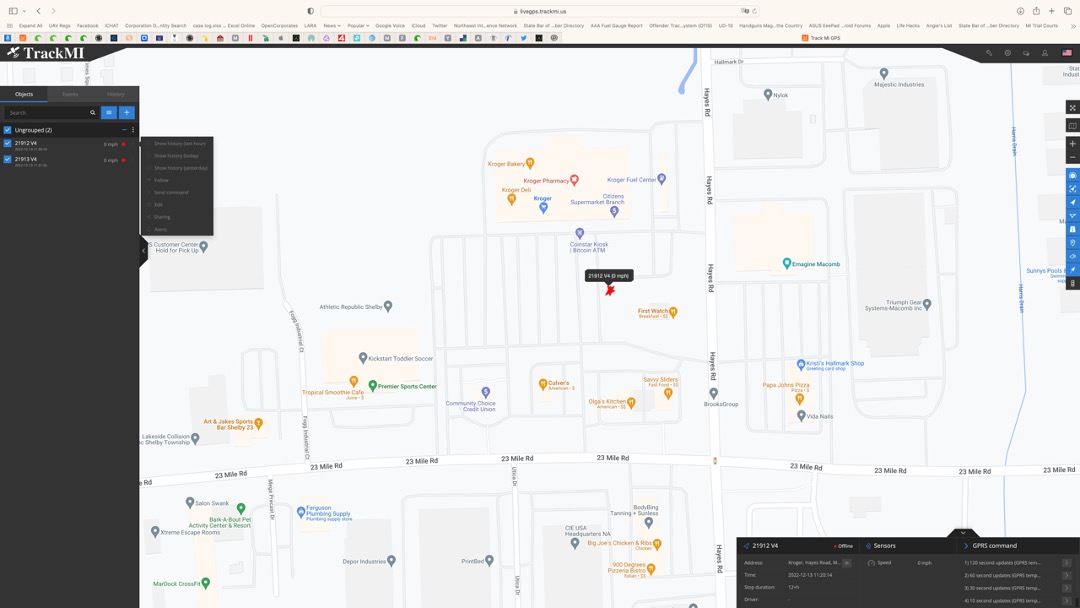
The update frequency and tracker mode can be changed from the web platform (right side window on the lower part of the mapping screen) while the tracker is awake and shows either a green or a yellow status indicator. When the device accepts the parameter change, a green confirmation window will display for a few moments. If a red window shows with “No GPRS connection” it means that the device is offline and did not receive the command. Try again when the device is active.
TrackMI App:
IOS:
https://apps.apple.com/us/app/track-mi-pro/id6451266724
Android:
https://play.google.com/store/apps/details?id=com.trackmi.app
Please report any bugs and feature suggestions to admin@trackmi.us
To the right of the device in the Object pane, there are three vertical dots. Click the dots to activate the menu. Most menu items are self-explanatory.
Live Tracking Link
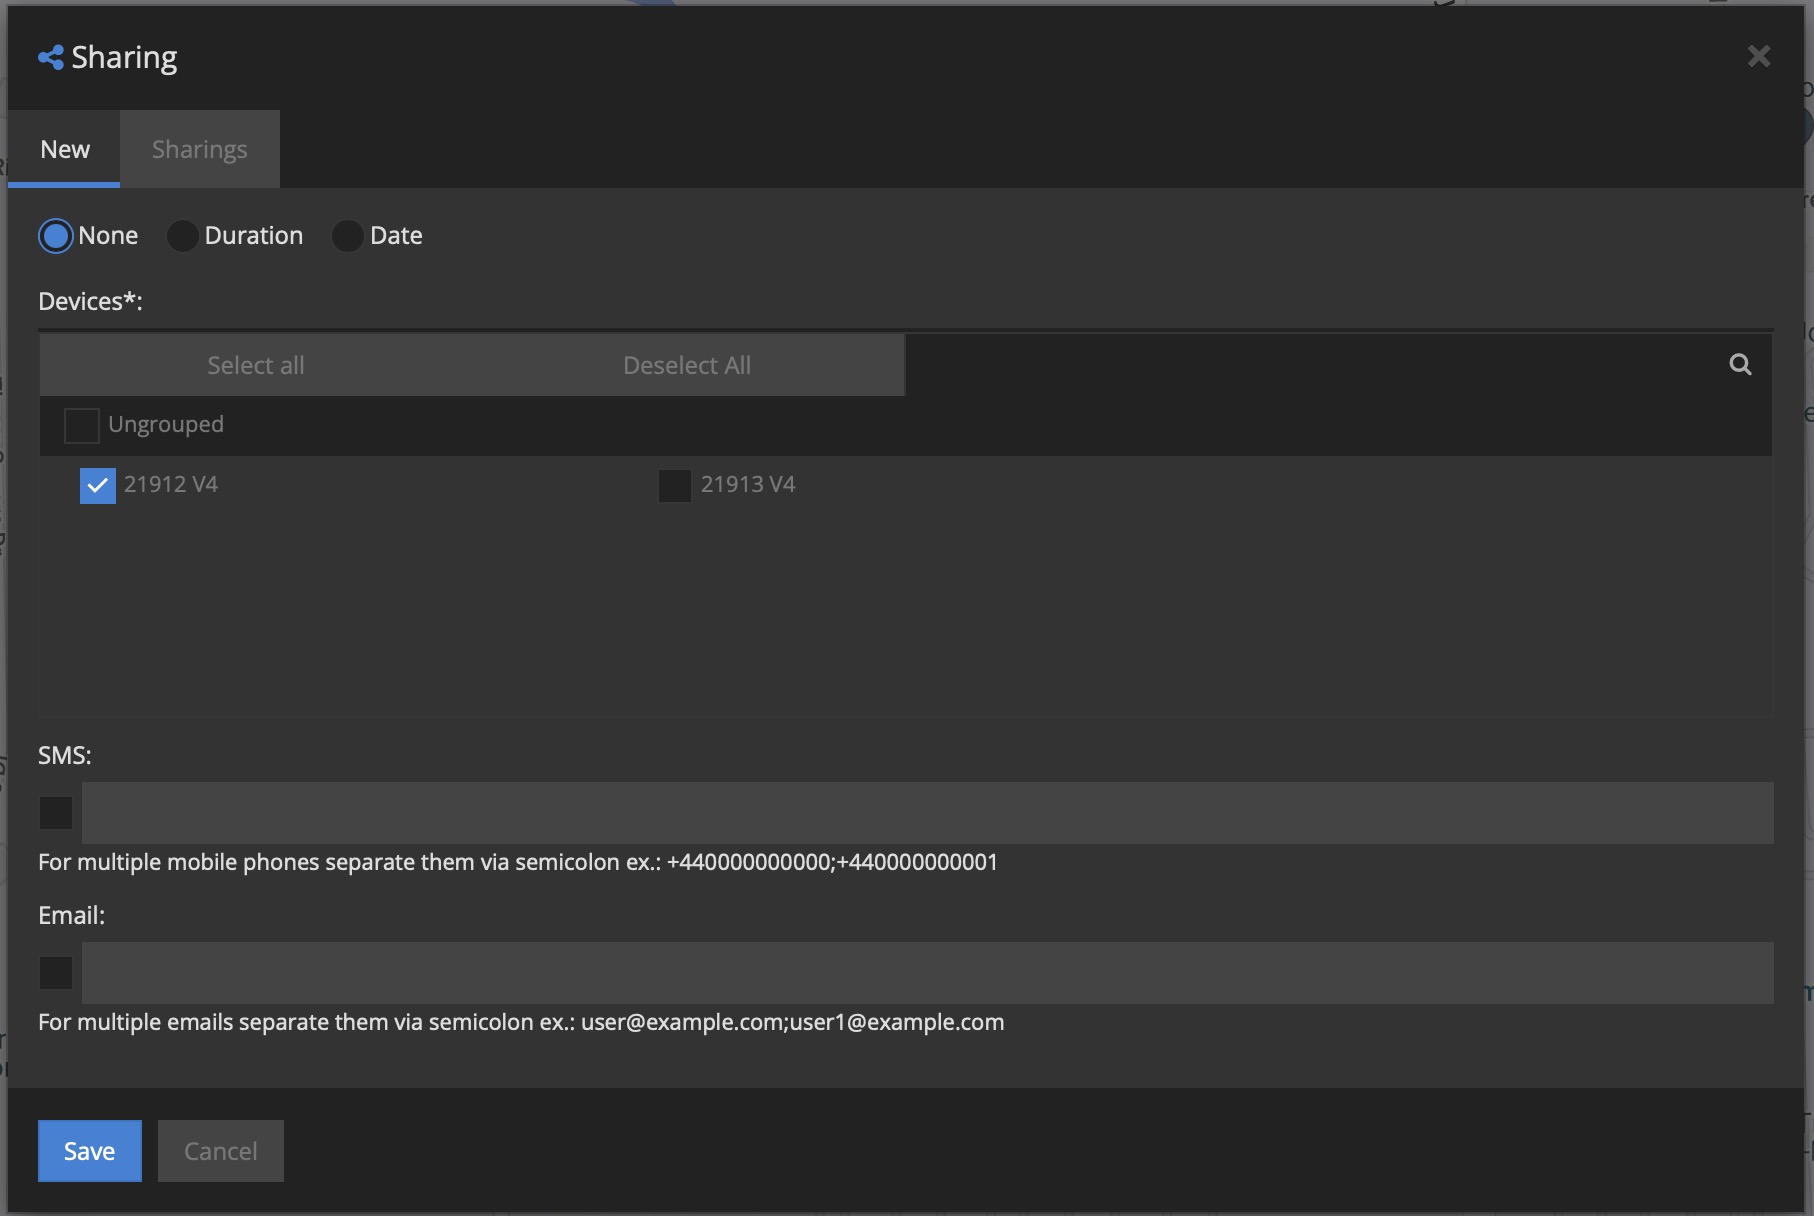
The sharing feature allows the user to generate a shareable link to access the device in real-time. The link can be set to expire and can be emailed or sent from the system by SMS to multiple recipients.
Geofencing
Setting up geofence alerts is a two-step process.
First, setup the geofence, then setup the alerts
Creating a Geofence
- Open the TrackMI platform
- Set the zoom level to a manageable level so you can make out area streets
- Click the “wrench” icon [Tools] in the upper right of the screen, then select [Show] address from the dropdown menu
- Enter the address for the center of your geofence. This will locate the address and place a marker on it for visual reference
- Next click the tools menu again and select [Geofencing]. The geofence pane will open at the left side of the screen.
- Click the blue [+] in the upper right for a new geofence
- Name the geofence
- Select polygon or circle
- Draw the geofence on the map
- When using polygon, you must complete the polygon and click into the first point to finalize it. The boundaries can be adjusted as needed
- When using circle, you may need to adjust the position when done by dragging the point in the center of the circle
- DO NOT SELECT DEVICE this will attach the geofence to a specific device and it will move with the device. This function is used when setting up proximity alerts and will be discussed later
- Select geofence color, or stay with default
- Save the geofence
Setting Alerts to Geofences
- Click the “wrench” icon [Tools] in the upper right of the screen, then select [Alerts] from the dropdown menu and the alerts window appears on screen
- There are three pre-set alerts:
- Removal Alert or SOS – Alerts when the optical sensor on the bottom of the device is exposed to light (need to remove tape from the sensor window). Also alerts when the battery reaches 20% and gives an alert each time the device wakes from sleep when under 20% battery.
- Movement Alert – Alerts when the device begins movement after it has been still for over 3 minutes
- Stop Alert (adjustable) – Alerts a stop duration of your choosing, set to 4 minutes by default
- In the upper right of the Alerts window, click the [+] to add a new alert
- Name the alert (such as Smith Geofences)
- Select the devices
- Select the [Type] tab on top and in the type dropdown menu, select [Geofence in/out] for most applications
- Select the Geofences you wish to add to this alert, it can accept multiple geofences
- If you want SMS alerts, select the Notifications tab and check [SMS notification] then add the phone numbers you wish the alerts to go to, separating multiple numbers with a semicolon (example: +15865551234;+18105551234)
Additional tutorials to come